How To: Customize HTML of New Getty Images for Your WordPress Blog
This is a guest contribution from Bhagwad Park of hostoople.com.
As we discussed last week, Getty Images recently opened up millions of its images for free usage. Coming from a professional stock photo website, this is a phenomenal step and one that will be greatly appreciated by thousands of bloggers all over the world. Most of us have been in the position where we have found a really appropriate picture to use only to find that it is copyrighted and requires a license fee to display. Now we can have access to the best photographs on a dazzling variety of subjects for free. By default, Getty Images provides you with a stock I-frame that displays the image as well as the credits link. What we want is to find a way to properly incorporate it into our WordPress post so that it fits in nicely with our theme and aligns properly.
Getting the Embed Code
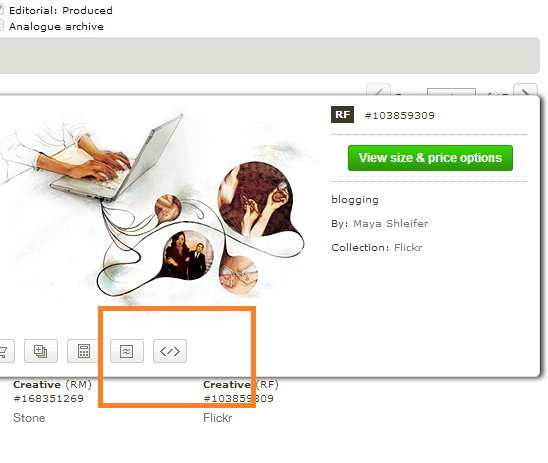
The first step is to find an image that is embeddable. Getty Images hasn’t opened all of its pictures to the public – just a large fraction of them. So for example if I have initiated a search using the term “blogging”, I will get a number of results and I need to figure out which once I can use. To do this, hover your mouse over each of the icons and you will get a pop-up. The ones we’re looking for have an “embed” button along the bottom of the picture to the right of all the other icons as shown in the screenshot below.
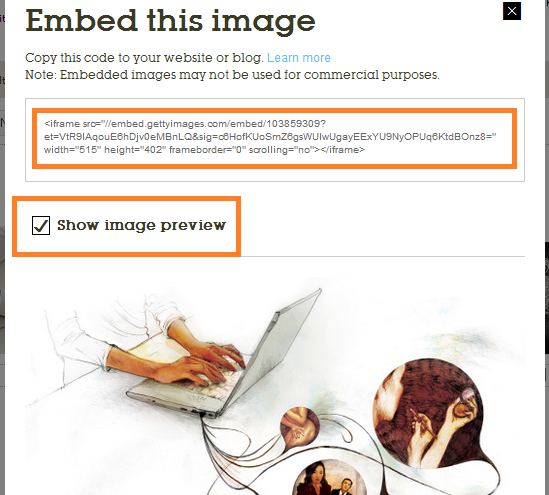
Clicking this icon will bring up the code to display it on your website. It takes the form of an I-frame that you need to insert into the HTML of your document. It comes with a default height and width and you will probably need to change to adjust it to fit your site. Below it, is a checkbox to toggle the image preview on and off. Enabling it will show you how the picture will look.
Aligning and Resizing the Image
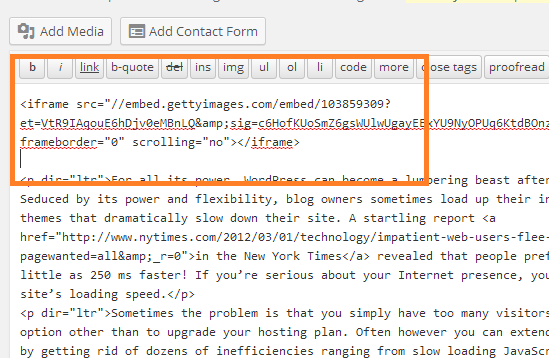
Let’s say we want to embed this image in the top left corner of our post. Go to your WordPress visual editor, and enter the HTML editing mode by clicking the “Text” tab on the right-hand side. This will allow you to edit the raw HTML in your content. Paste the copied i-frame code right at the very top as shown in the screenshot below. If you preview your post now, you will see that the image is the very first thing displayed with all of the text underneath it.
But what if we want it left aligned so that our text “flows” around the image? To do this, we need to add the following code to our I-frame as an attribute:
align=”left”
Place this immediately after the I-frame tag as shown below:

Now when you preview the image, it will be left aligned with your text appearing to the right of it. But what if we need to reduce the width so that it more easily fits in with the dimensions of our blog post? Let’s say we want to reduce it to 300 pixels instead of the default 515. To do this, simply change the “width” attribute in the HTML to the pixel size you require. In our case, we change it to:
width=”300″
This reduces the width but leaves the height intact which is a problem. As shown in the screenshot below, reducing the width without changing the related height attribute will leave a lot of whitespace below the image.
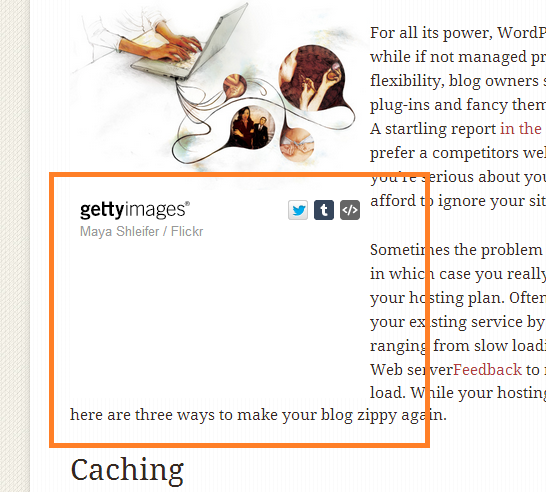
Changing the height is a matter of trial and error. The Chrome developer tools do a great job of allowing you to experiment with the right height. In my case, I found that 268 is the optimal height. So I changed the related attribute to:
height=”268″
This gives me a left aligned image with perfect dimensions on my blog. Using these simple instructions, you can have the very best pictures suited to your content for free – thank you Getty Images!
Bhagwad Park is a writer for hostoople.com, specializing in WordPress. You can follow him on Google+ here.
Originally at: Blog Tips at ProBlogger
How To: Customize HTML of New Getty Images for Your WordPress Blog
Facebook comments:
No Comments »
No comments yet.
RSS feed for comments on this post. TrackBack URL
Leave a comment