


Optin Skin Plugin Review
In June, Darren shared 3 Ways to Get More Subscribers for Your Blog. In that post, he identified the area under the blog post as being one of the ‘hot zones’ for calls to subscribe.
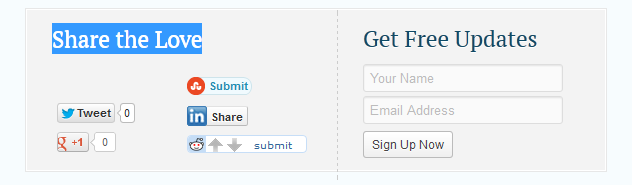
This area is a solid location to place a call to action, but it can require some effort to style a subscribe form that fits with your theme. In this post, I will be reviewing a plugin that helps you easily create appealing opt-in forms and social share boxes to your blog.
It’s called Optin Skin (aff) and it’s pretty swanky.
I bought this product in 2011 and definitely believe that it’s worth the money. It was really easy to figure out and use. I have no statistics about whether or not it increased the size of my list as I stopped blogging shortly after I installed it. This review is primarily based on ease of use.
The features
Skin Design:
Creating a skin is simple. You simply click ‘Add New’ after hovering over the text for Optin Skin in the sidebar. This will take you to a page where you get to customize the design and skin placement.
You have the choice of about 18 skins, which may be limiting if you don’t like any of the existing options. Customizing the design elements – font, text, size – are easy. You may need to consult design palettes to find colours that complement your theme. The designs are split between being perfect for the sidebar and perfect for below a post.
There are four options for skin placement:
- Below a post
- Below the first paragraph
- At the top of posts
- Floated right of second paragraph
Once the skin is created, a widget with the skin will be available for sidebar use. You will also receive a shortcode to insert the skin. This makes it so easy for you to put the form (or forms) wherever you like.
You also have the option to redirect people to another page after they sign up, which is perfect for a thank you page.
Split Testing
Split testing is one of the features that really excited me. I’m not technical at all, so will often resort to the default opt in form. I don’t have the resources to get two forms designed to do testing and am not comfortable with the HTML.
This plugin makes split testing easy but you are limited to testing designs rather then locations. You have the options to split test a plugin in the sidebar, or within content, but the optin form has to be in the same area.
I recommend that you test this out. It is so much easier then other form of split testing and can give you lots of useful information.
Statistics
The interface allows you to easily visualize data about sign up, impressions and conversion rates. This is a really nice touch as it gives you more data points to base decisions on and means you don’t have to leave your blog.
Usability
It was pretty easy to figure out what to do – it was really user friendly. I’ve purchased a lot of products that are promoted as being easy to customize, but require a lot of HTML knowledge. The only HTML knowledge you really need is knowing where to put the shortcode if you choose custom positioning.
I really appreciated how easy it was to set up.
My recommendation:
I believe Optin Skin is great value for money. It has given me the incentive to actually test things with my mailing list rather then relying on “hope marketing”.
It removes a lot of the scary-factor that prevents people, like me, getting off their butt to implement new designs and split testing. I just don’t have the time or mental energy to add something else to my to-do list. This takes about half an hour to set up and then you can tweak as required based on the data.
Editorial Note: ProBlogger is an affiliate for this product but this review is a genuine recommendation by someone who uses the product.
Originally at: Blog Tips at ProBlogger
No Comments »
No comments yet.
RSS feed for comments on this post. TrackBack URL
Leave a comment